Category: Woodworking
-
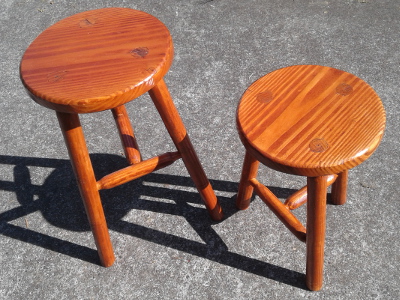
Stanton 3-Legged Stool
in WoodworkingThis pair of stools was inspired by a video I watched about making Stanton Stools with hand tools only. These two stools were made from a single 2×12 by 6′ board of local construction lumber (Douglas Fir) board. This was a gratifying woodworking project and the total cost was ~$12. The stools were finished with…
-
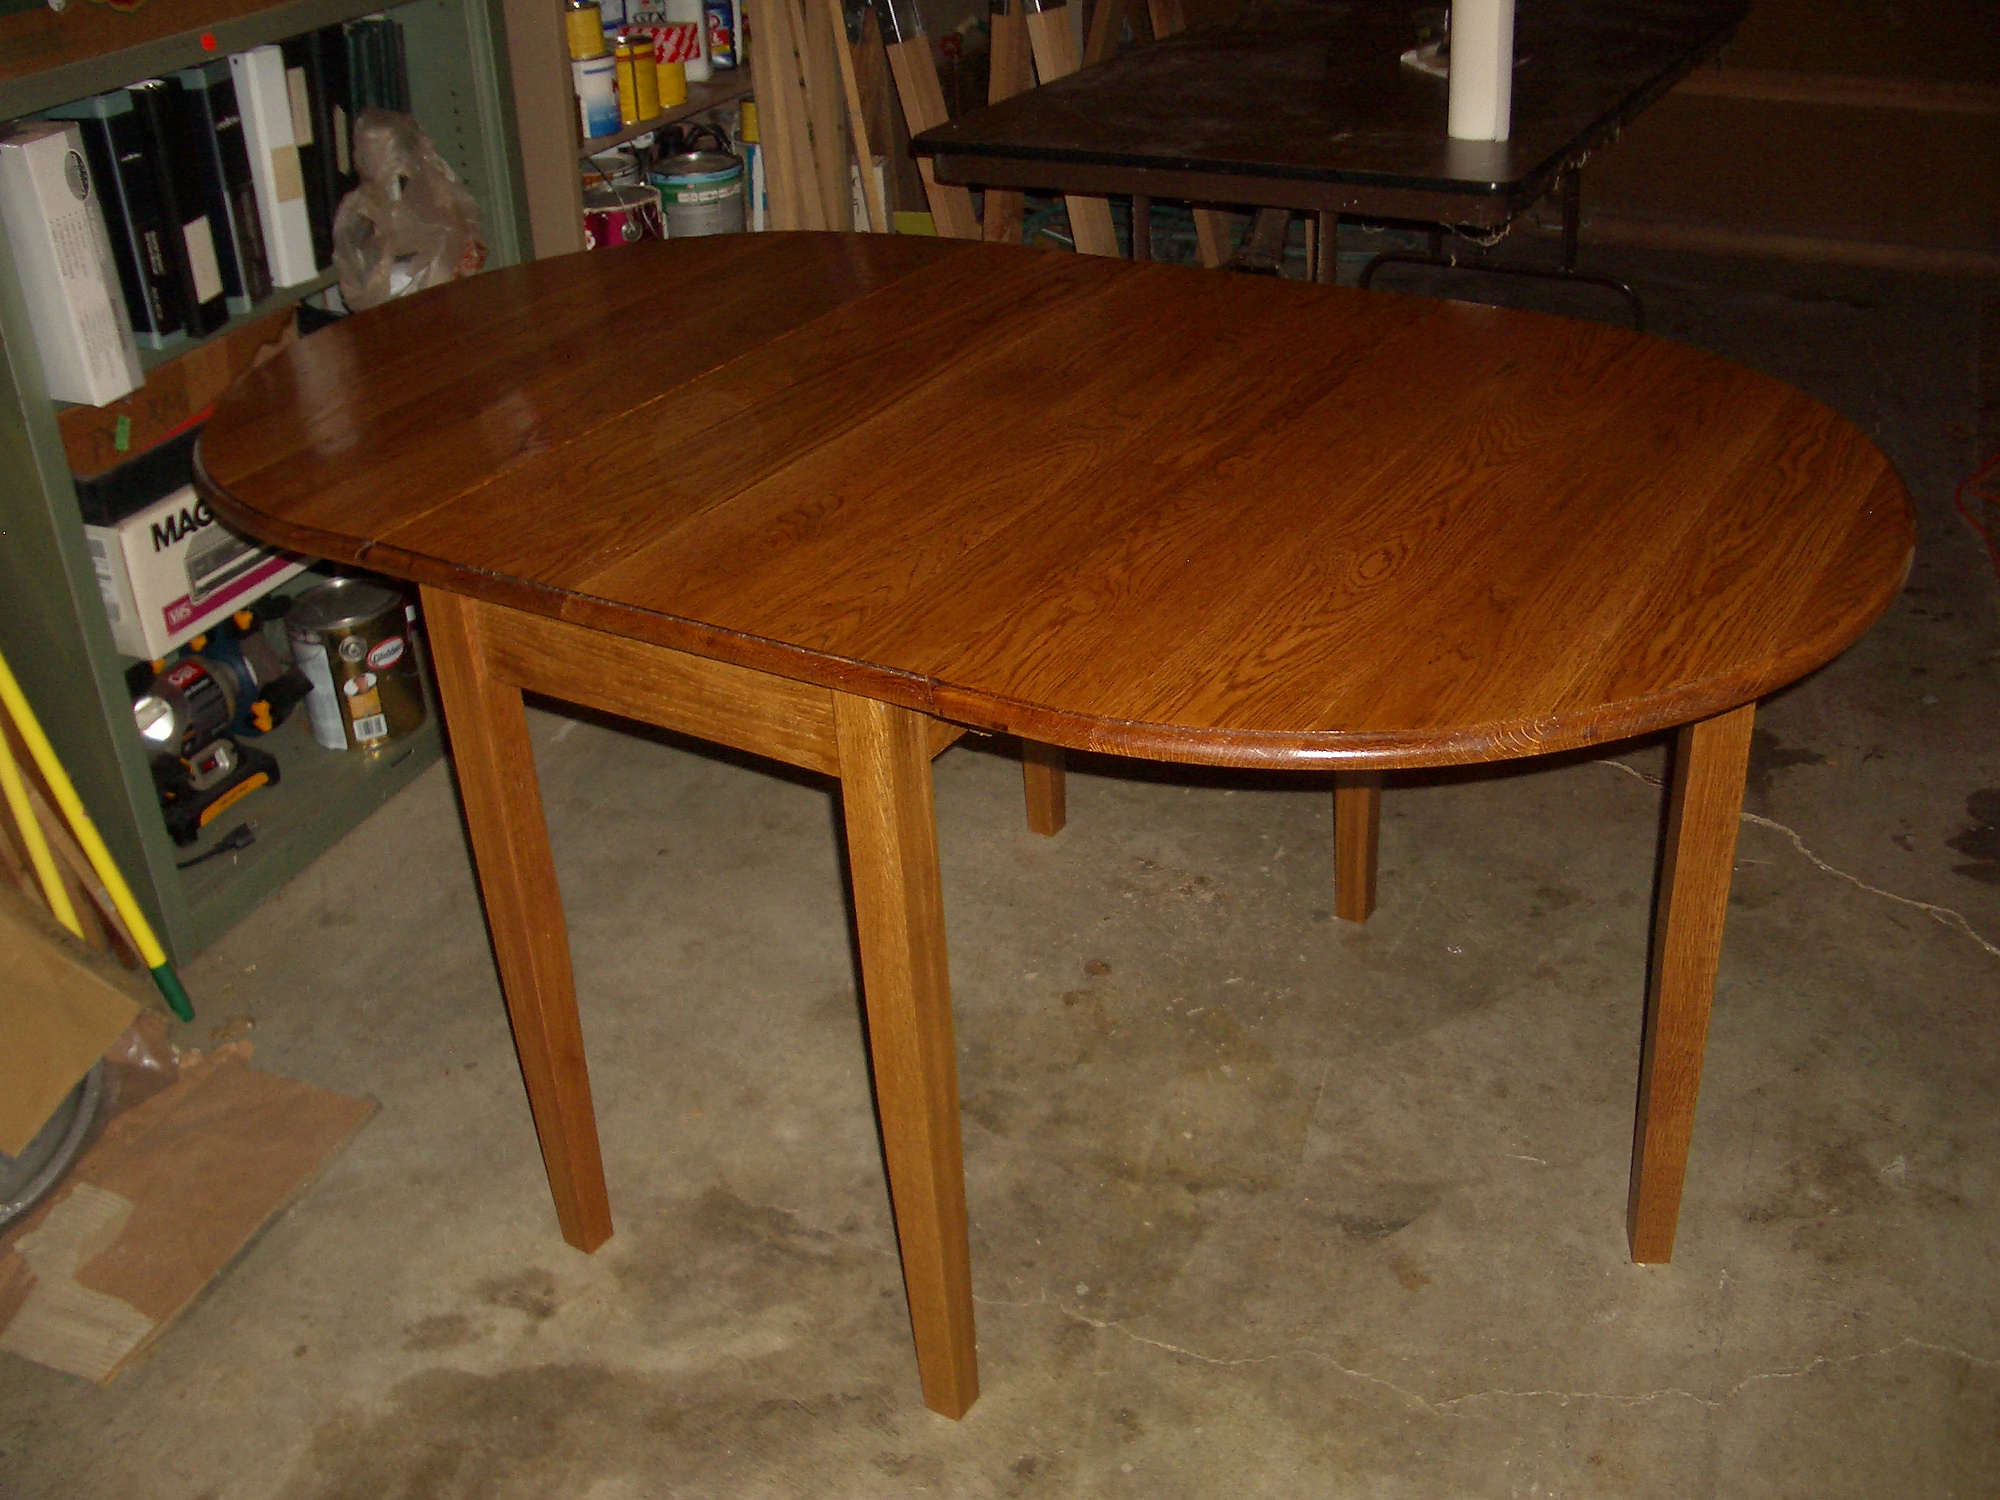
Gate Leg Drop Leaf Oak Table
in WoodworkingI made this Gate Leg Drop Leaf Table in my garage using only a table saw and Router. When unfolded, the tabletop is flat and smooth, about 6 ft. wide, strong and sturdy. Finished with one coat of Shellac, Oak Stain and 4 coats of Polyurethane. This table was used for many years at my…
-
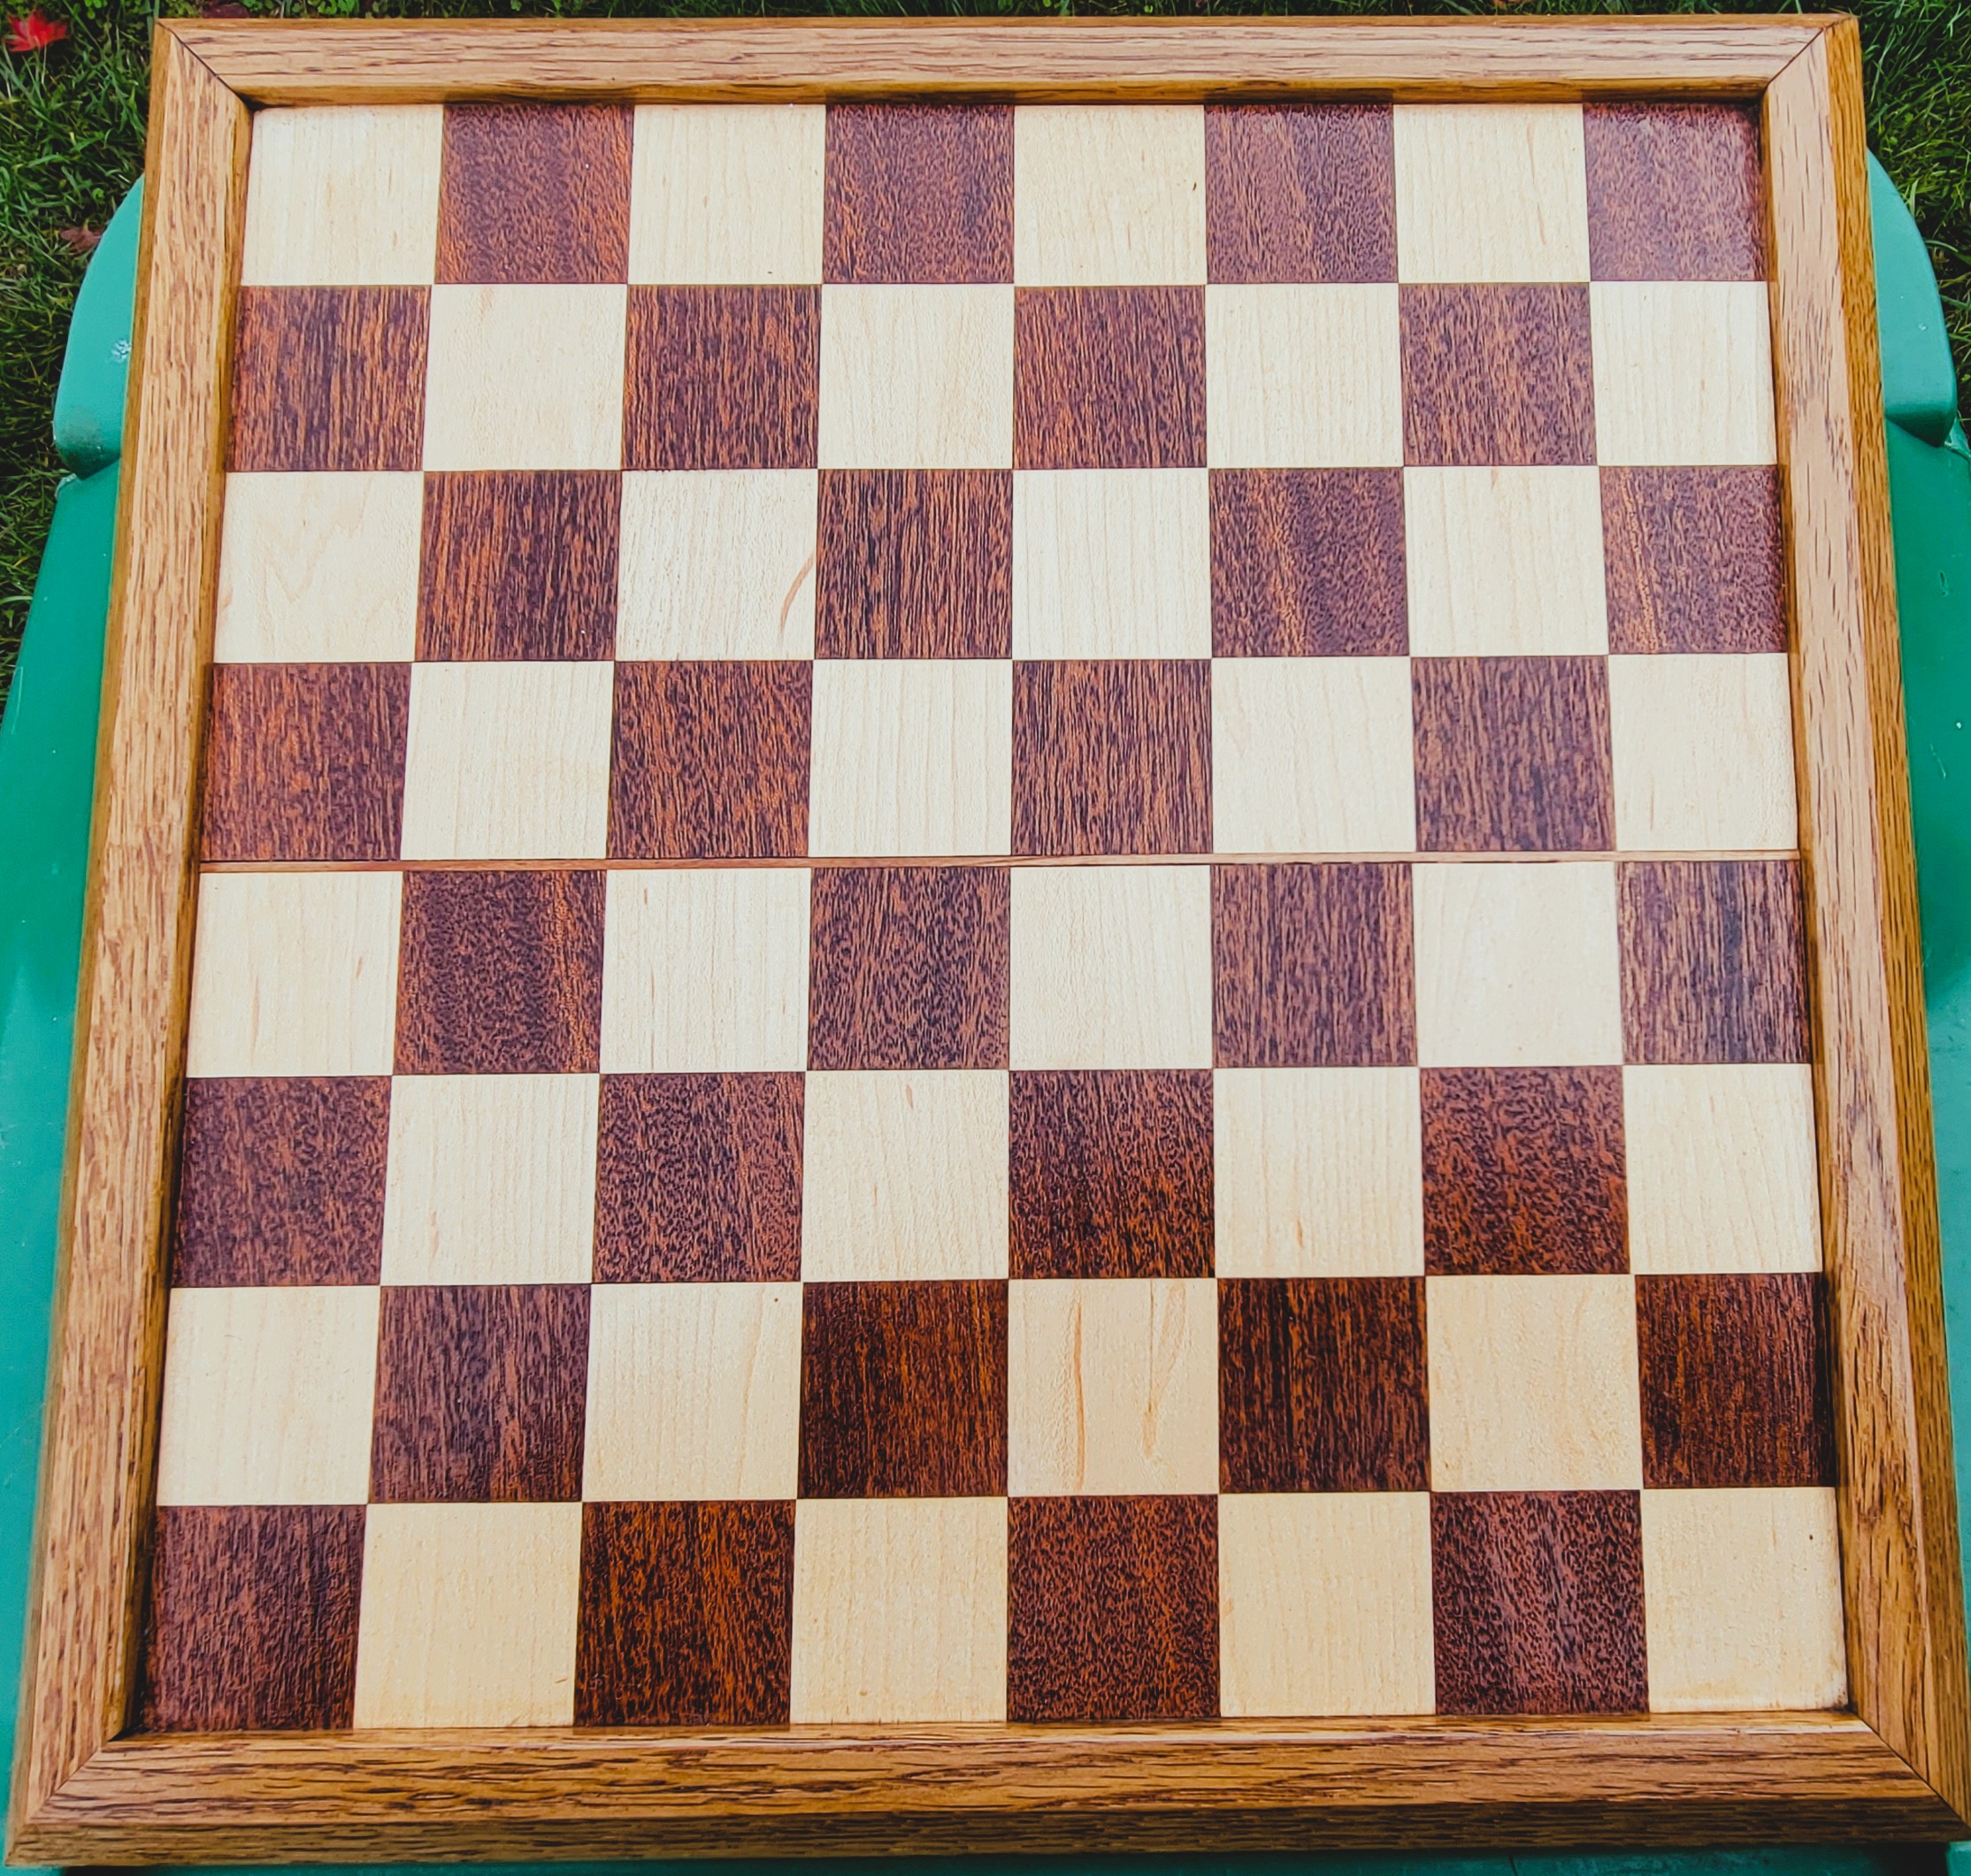
Homemade Wooden Chessboard
in WoodworkingThis homemade wooden Chessboard is composed of 1.5″ Maple and Mohagany squares, making the overall playing area 12″ x 12″ square. The mitered border is a router-trimmed edge with a 45-degree angle. The mitered border is Oak wood. The whole project is finished in Watco Danish Oil, then 4 coats of Watco wipe-on polyurethane. Small…
-
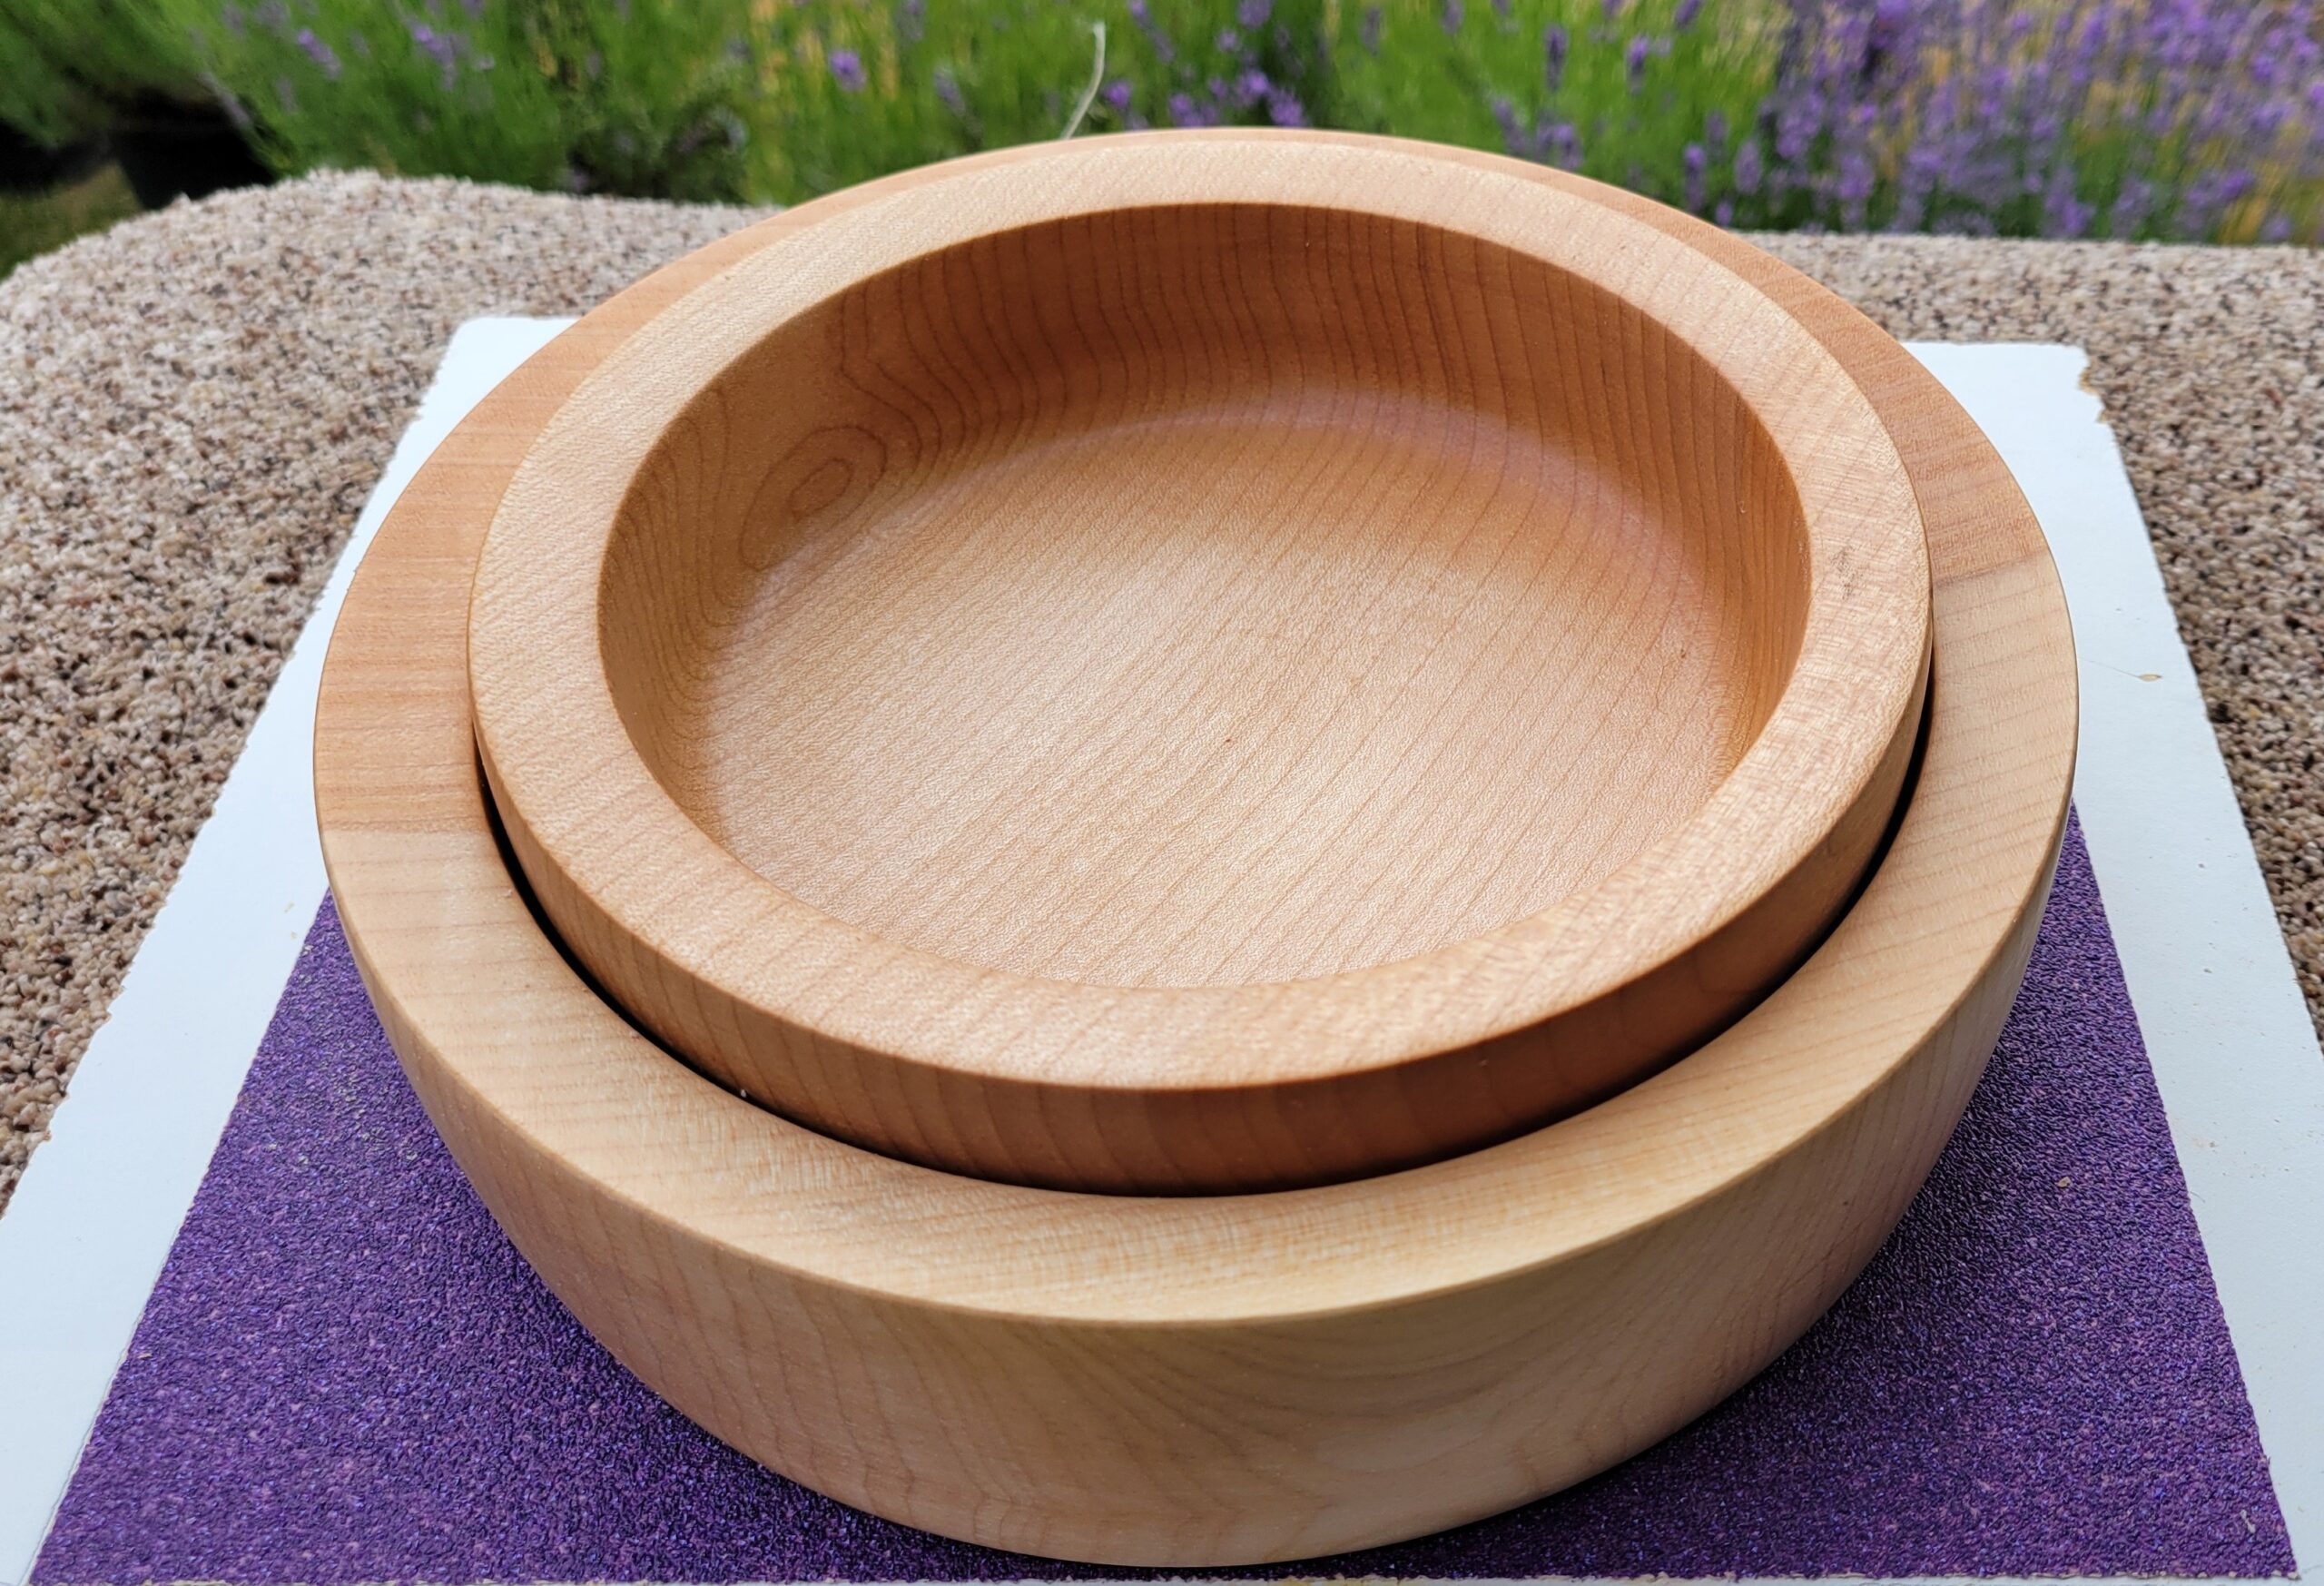
Nested Wooden Bowls
in WoodworkingThese nested wooden bowls are made of Figured Maple, about 10″ in diameter and 3.25″ tall. Finished in Tried and True Original (Beeswax and Linseed oil).